

Recently I was invited by our local mommy group to participate in a craft and since I am so not crafty, I was really excited to learn from these mommas!
Well the day of the project my mini van decided to act up and leave me with a dead battery… My luck right?!
After fixing up the battery issue, I was left with materials for my project but no skill haha! So this was the true test of DIY for me! Luckily, this project didn’t require much more than basic skill so I finished it! All! By! Myself!!!
I took a plain white tshirt and a plain white onsie and washed both. You want to start with clean materials. I purchased some cute printed fabric at our local craft store and didn’t use very much! So if you find scrap fabric on sale, that would work! I also purchased Heat ‘n Bond iron on adhesive.
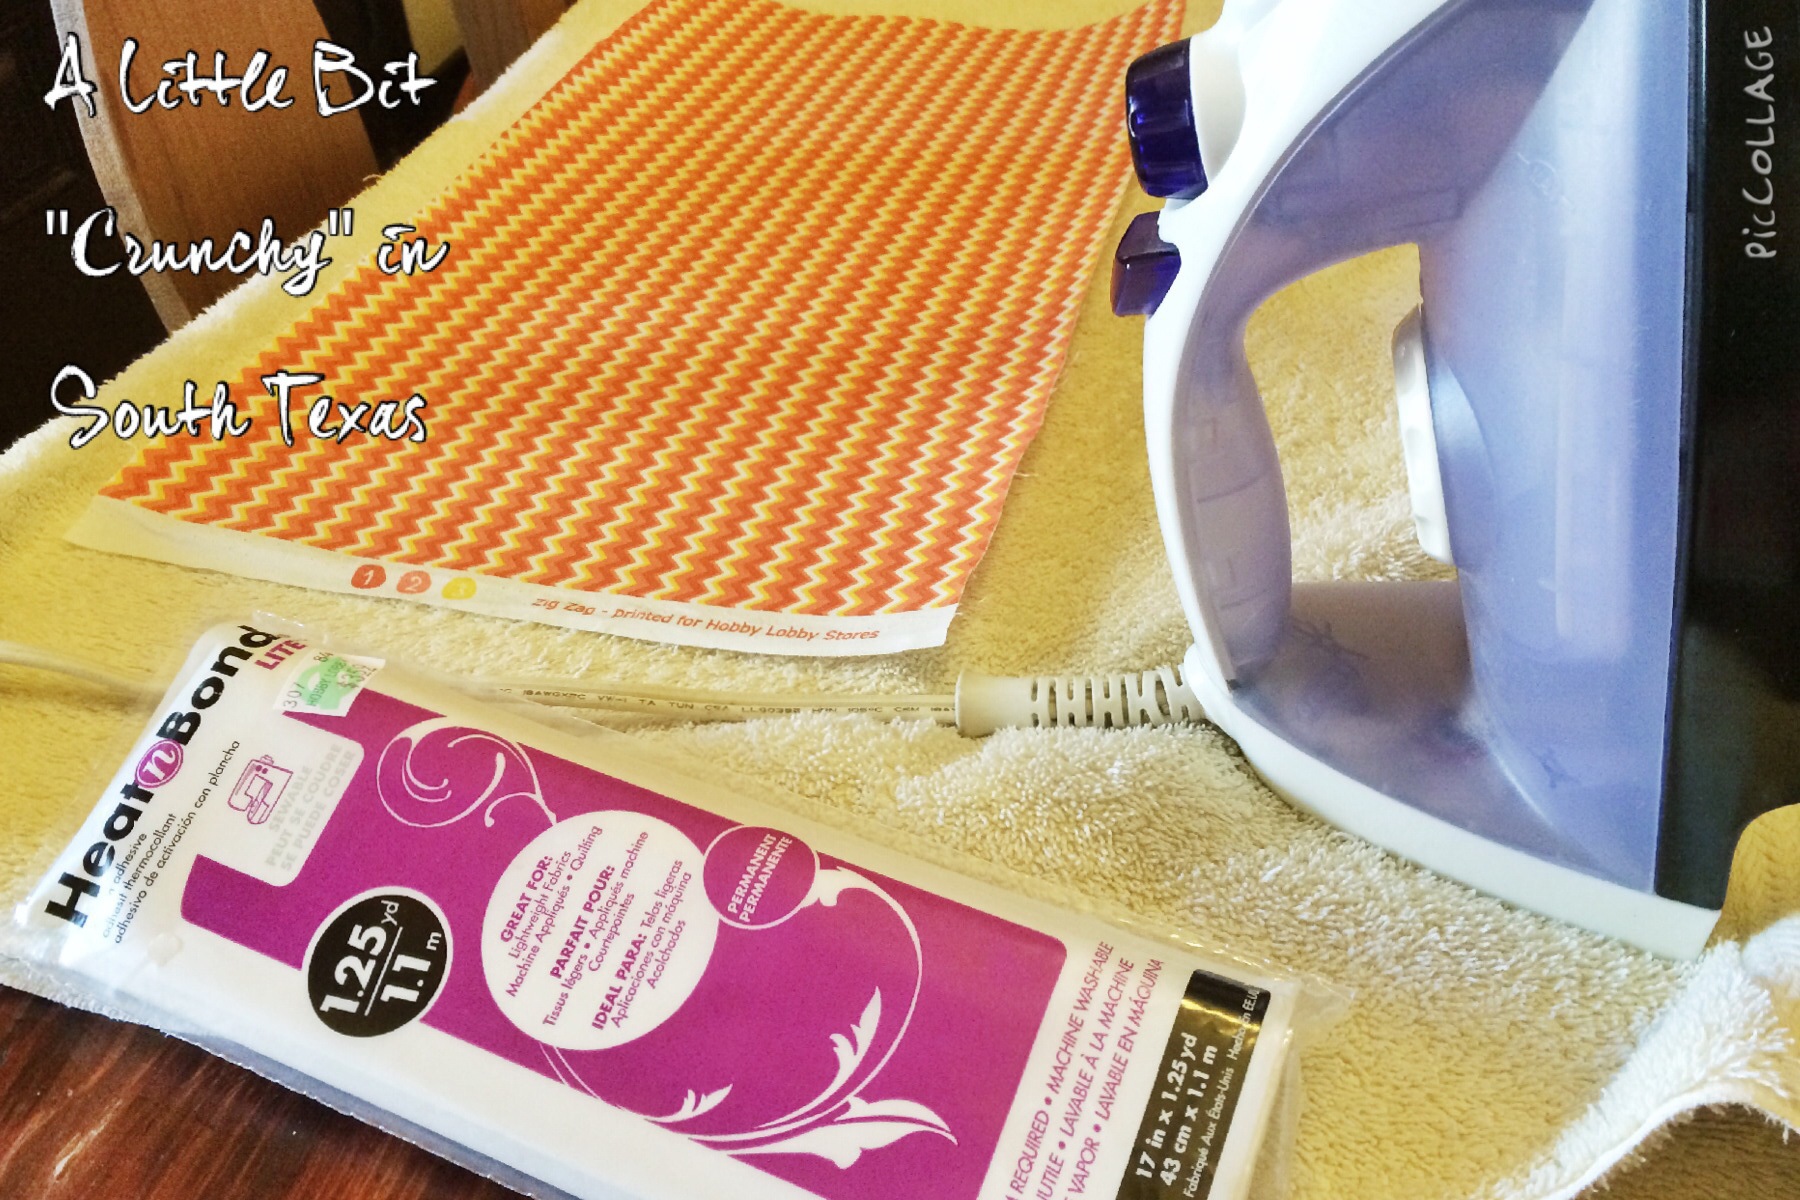
1. I took the Heat n’ Bond and fused it to my patterned fabric with my handy dandy iron.
2. Once it cooled, I took some chalk and drew a pumpkin on my printed fabric. (I did this freehand but there are TONS of free printable patterns out there! Like these.)
3. I cut out my pumpkin and proceeded to iron on my appliqué to my shirts according to the instruction on my fusing adhesive.
4. Once I fused the pumpkin to the onsie/tshirt, I proceeded to do some stitching on the edges of my appliqué. I used embroidery thread and an embroidery needle to ditch and the results are not too shabby! (My stitching is nowhere near perfect but I think it adds character to this project… Or at least I’m going to keep believing that!)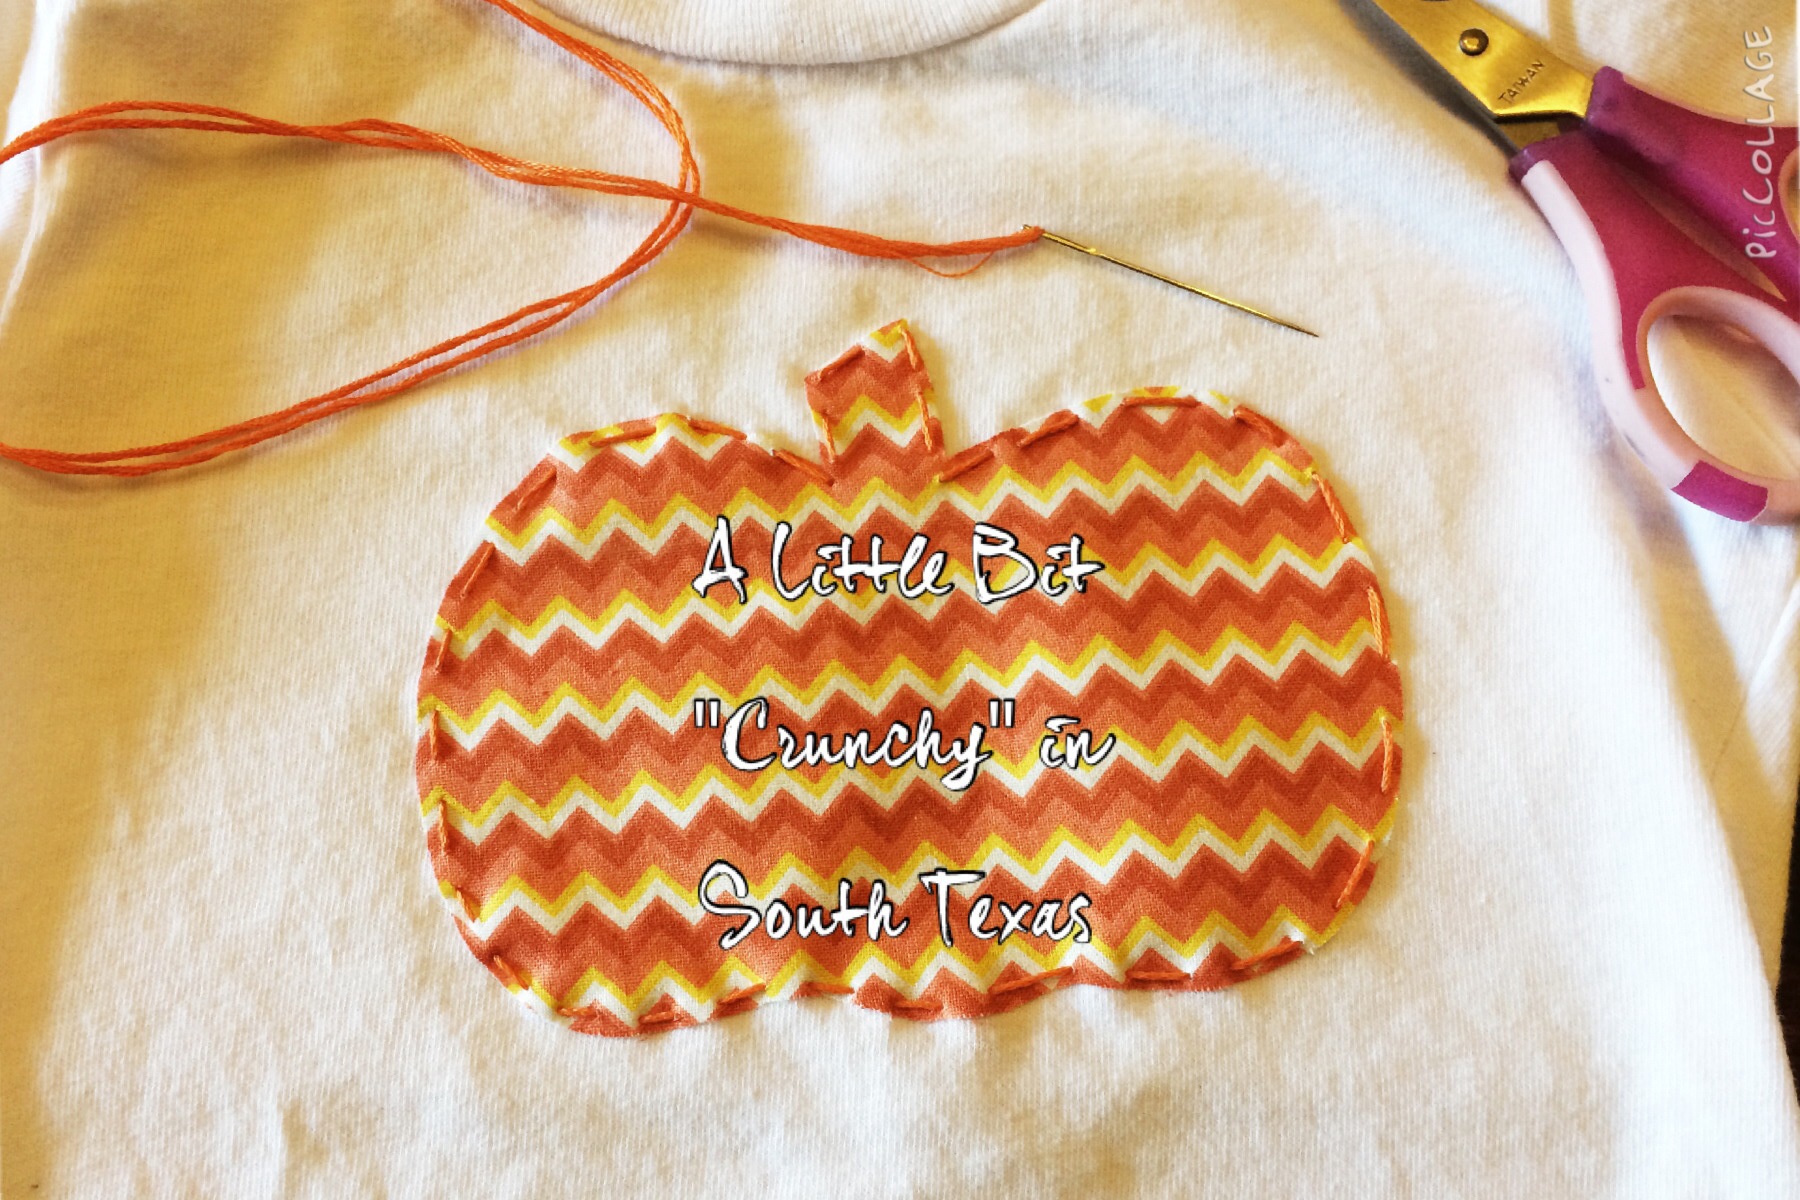
The result is a couple of cute shirts to wear to the local pumpkin patch! I think these will be cute Thanksgiving attire for the babies too so we can get some more use out of them.
This project was way more intimidating on paper but once completed, it didn’t seem so bad. Give it a shot some time!
~Norm







Leave a Reply